Bright Ideas in Culpeper: How Solar Lit Message Boards Are Powering Downtown Connections
April 2, 2026
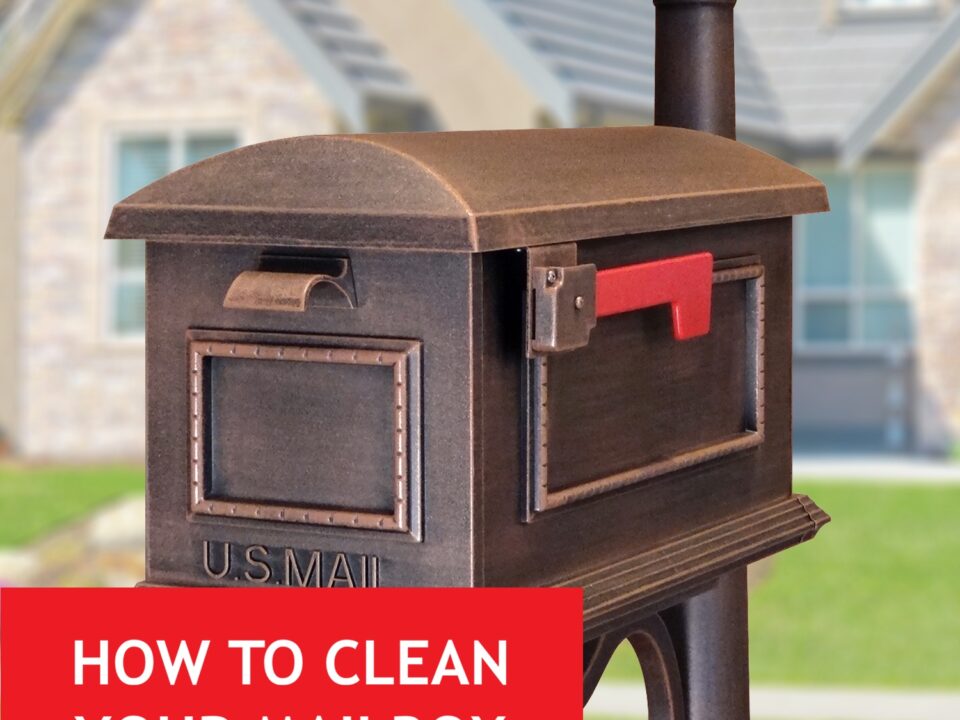
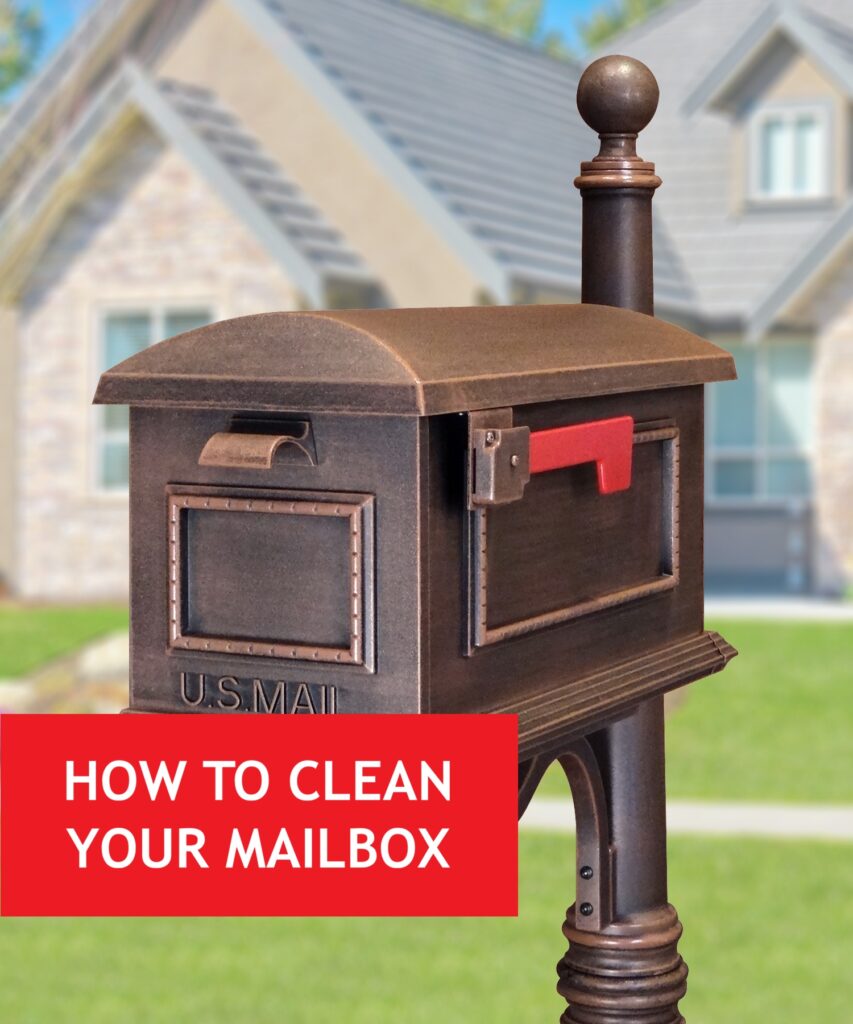
How to Clean Your Special Lite® Mailbox
May 5, 2026
Mail delivery is one of those things residents expect to work from day one. Nobody moves into a new apartment, townhome, or housing development and thinks, “I’ll just wait a few weeks for my mail to show up.” But for builders, developers, and property managers, getting mail service up and running on time takes planning that starts months before the first tenant receives a key.
The good news is that the process is straightforward when you know the timeline and work with a knowledgeable partner like Special Lite Products that can help you with your project every step of the way. In this guide, we will walk you through each phase of new construction mailbox planning, from early design decisions to the day USPS starts delivering.
Mailbox installation is one of the last things to happen on a construction site, but it needs to be one of the first things you plan. Here’s why: USPS requires advance coordination before they activate delivery to a new address. If you wait until construction is nearly finished to start that conversation, you could be looking at weeks or even months of delay after residents move in.
The most common cause of delayed mail service in new developments isn’t a missing mailbox. It’s missing approval. USPS needs to sign off on your mailbox type, placement, and access before they’ll assign a carrier route to your property. That process takes time, and starting late means your residents are stuck picking up mail at the post office.
Phase 1: During Design and Permitting (6 to 12 Months Before Occupancy)
This is when you make the decisions that affect everything downstream. Getting them right now saves you from costly changes later.
- Choose Your Mailbox Type
For new construction, USPS requires centralized mail delivery in most cases. That means one of three main options:
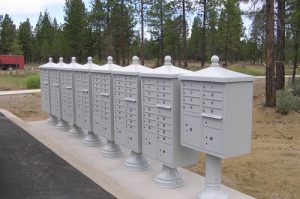
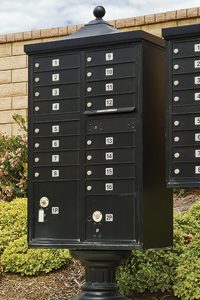
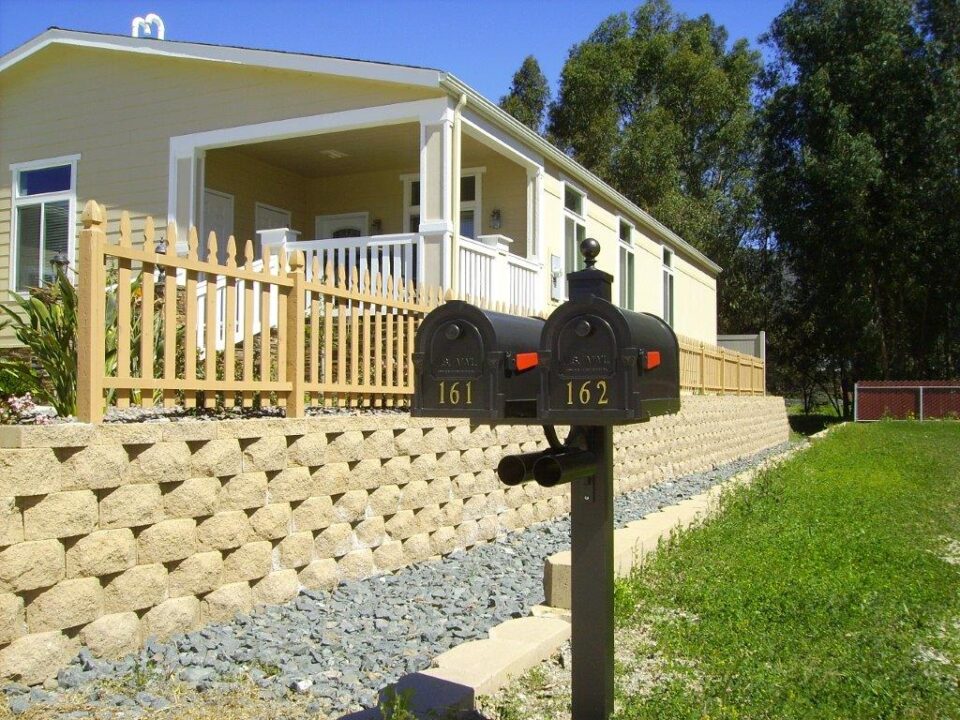
- Cluster Box Units (CBUs): The most common choice for residential subdivisions, HOA communities, and townhome developments. These freestanding units include tenant mailboxes, parcel lockers, and an outgoing mail slot in a single pedestal-mounted cabinet. They’re installed outdoors and serve groups of 8 to 16 households per unit.
- 4C Horizontal Mailboxes: The standard for apartment buildings, condominiums, and mixed-use properties where mailboxes will be installed indoors. These wall-mounted or recessed units meet the current USPS STD-4C standard and are available in configurations ranging from a handful of tenant doors to 29 or more per unit.
- Standard Kiosk-Style CBUS: Standalone kiosk-style stations that house 4C mailbox modules outdoors. These work well for properties that need centralized mail delivery but don’t have an indoor mail room, like garden-style apartments or campus-style developments.
The right choice depends on your property type, the number of units, and whether mail will be delivered indoors or outdoors. If you’re unsure, your local USPS office can help you determine what’s required for your specific development.
- Contact Your Local USPS Office
This step is critical and often overlooked. Before you finalize your site plan, reach out to your local postmaster or delivery unit supervisor. You’ll want to cover the number of units in your development, your proposed mailbox location on the property, the type of mailbox system you plan to install, and whether USPS will need vehicle access to the mailbox area. If your development is being built in stages, bring that up too, since phased construction affects how USPS plans carrier routes.
USPS has specific requirements for mailbox placement. Mailboxes must be in a location that’s safe and convenient for both carriers and residents, with residents traveling no more than one block to access them. Getting USPS input during the design phase prevents expensive relocations later.
- Design for ADA Compliance
ADA accessibility requirements apply to all new mailbox installations. At minimum, your design needs to include at least one accessible mailbox compartment per cluster, positioned between 15 and 48 inches from the ground. You’ll also need an accessible route from parking areas and building entrances to the mailbox location, with adequate maneuvering space around the mailbox area for wheelchair access and a firm, level surface at the mailbox approach.
Building these requirements into your site plan from the start is far simpler than retrofitting them after installation.
Phase 2: During Construction (3 to 6 Months Before Occupancy)
With your design decisions made and USPS coordination underway, this phase is about ordering, site preparation, and staying on schedule.
Commercial mailbox orders typically have lead times of 2 to 6 weeks depending on the product type, configuration, and quantity. Custom configurations or large orders may take longer. Place your order early enough that your mailboxes arrive before the site prep work is complete, not after.
 When ordering, confirm the exact number of tenant compartments you need (match this to your unit count, plus any extra compartments USPS requires for carrier use) and your parcel locker quantities. USPS generally requires one parcel locker for every 10 tenant compartments in CBU installations. You’ll also want to finalize color and finish options that match your property’s aesthetic, along with any accessories like pedestals, surface-mount collars, shelter pavilions, or directory boards.
- Prepare the Site
While you’re waiting for your mailboxes to arrive, get the installation site ready. CBUs and freestanding depot enclosures need a level concrete pad with anchor bolt placement matching the unit’s footprint, so pour this well in advance to allow proper curing time. Plan electrical runs to the mailbox location during your site work phase, since USPS expects adequate lighting for early morning and evening access.
Make sure the area has proper drainage so it won’t collect standing water; carriers and residents need to access mailboxes in all weather conditions. If USPS carriers will deliver by vehicle (common for CBU installations in suburban developments), confirm that the road or drive aisle adjacent to the mailboxes will be completed and accessible before delivery starts.
- Coordinate with USPS for Route Setup
About 90 days before your target occupancy date, follow up with your local USPS office to confirm your delivery start date. Give them your expected first occupancy date, the number of units that will be ready for move-in, confirmation that your mailboxes have been ordered, and site prep is on schedule, and a site plan or map showing the mailbox location relative to building entrances and street access. USPS needs this lead-time to assign your development to a carrier route, update their delivery databases, and order master keys for your mailbox system.
Phase 3: Pre-Occupancy (30 to 60 Days Before Move-Ins)
- Install the Mailboxes
Installation timing matters. You want mailboxes installed late enough in the construction process that they won’t be damaged by ongoing site work, but early enough that USPS can complete their inspection before your first move-in.
A good rule of thumb: install mailboxes 30 to 45 days before your first expected occupancy. This gives you a buffer for the USPS walkthrough and any adjustments that might be needed.
- Schedule the USPS Final Walkthrough
Once your mailboxes are installed, contact USPS to schedule their final inspection. During this walkthrough, the carrier supervisor will verify that the mailbox type and placement match what was approved, confirm that ADA access requirements are met, check that the approach and surrounding area are safe for carrier access, and accept the master key (or arrange for USPS to install their own postal lock). If everything passes inspection, USPS will activate delivery to your addresses. If there are issues, you’ll need to correct them before delivery can begin.
- Distribute Tenant Keys and Set Up Mailbox Assignments
Once USPS gives you the green light, assign mailbox compartments to units and distribute tenant keys. Keep a master record of which unit corresponds to which mailbox number. You’ll need this for move-outs, lock changes, and any future maintenance.
For properties using combination locks or keyless entry systems, set up tenant access codes before move-in day and include mailbox instructions in your tenant welcome packet.
Special Considerations for Phased Developments
If your development is being built in stages, mail delivery planning gets a bit more complex. The most important thing is to order enough capacity from the start. It’s far easier and cheaper to install a CBU or 4C unit with enough compartments for the full build-out than to add more units later. Empty compartments during early phases are fine. Scrambling to add capacity when Phase 3 residents move in is not.
You’ll also want to coordinate delivery start dates with USPS for each phase, since they may need to adjust carrier routes as new sections of your development open up. And plan your mailbox locations with the full build-out in mind, not just the first phase. A mailbox cluster that’s convenient for Phase 1 residents but inaccessible from Phase 4 buildings will create problems down the road.
Common Mistakes That Delay Mail Service
Even experienced builders run into these:
- Contacting USPS too late. This is the number one cause of delayed mail service in new developments. Reaching out during the permitting phase gives USPS time to review your plans and avoids last-minute surprises.
- Choosing the wrong mailbox type. Not all commercial mailboxes are approved for USPS delivery. New installations must use either USPS-approved CBUs or STD-4C compliant horizontal mailboxes. Older standards like 4B are no longer approved for new construction.
- Skipping ADA requirements. ADA non-compliance can result in failed inspections, fines, and costly retrofits. Design for accessibility from the beginning.
- Not accounting for packages. Modern mail delivery involves far more packages than it did even five years ago. Make sure your mailbox system includes adequate parcel locker capacity, or plan for a separate package management solution.
Get Started on Your Mailbox Project
Planning mail delivery for a new construction project doesn’t have to be complicated, but it does have to start early. If you’re in the design or permitting phase and need help choosing the right mailbox system for your development, National Mailboxes can walk you through the options.
Contact Special Lite Products at 724-537-4711 or request a free quote to discuss your project. We’ll help you select the right mailboxes, confirm USPS requirements, and make sure your timeline stays on track.
